Introduction
Whether you live on a homestead, small farm, or are planning on just using your backyard, growing your own fresh fruits and vegetables is an important skill to master. By producing your own food, you’ll not only know exactly where it came from, but also enjoy the satisfaction of eating something you’ve grown yourself.
To become even more self-sufficient, it’s important to know which fruits or vegetables can be regrown from cuttings or scraps. Not only is growing food from scraps a sustainable practice, but it’s also an easy way to reduce food waste and save money on groceries.
In this post, we’ll provide you with a detailed guide on how to regrow 15 different fruits, vegetables and herbs using materials that you may have otherwise thrown away. Now, this is not necessarily an all-encompassing list. However, we’ll give you step-by-step instructions on how to grow your own fresh produce, from garlic to avocado, right at home.
So, whether you’re an experienced gardener or a novice, this guide will provide you with the information you need to become more self-sufficient and take control of your food production. So, let’s dive in and discover which fruits, vegetables and herbs can be easily regrown!
Celery
Celery is a vegetable that is easy to regrow from its base. To regrow celery, cut off the base of the celery stalks and place it in a shallow dish of water, with the cut side facing up. Make sure to change the water every few days to prevent bacteria from forming.
Within a week or two, you should notice new growth coming out of the center of the base. Once the new growth is about 3-4 inches tall, it’s ready to be transplanted to soil.
When transplanting, make sure to choose a location with well-draining soil and partial shade. Dig a hole in the soil that is slightly deeper than the celery base and plant it, making sure to keep the new growth above the soil level. Water the plant regularly and keep it moist, but not waterlogged.
It’s important to note that celery requires a lot of water, so make sure to water it regularly. It’s also a good idea to fertilize the plant every few weeks with a balanced fertilizer.
Once the celery is fully grown, you can harvest it by cutting off the outer stalks at the base, leaving the inner stalks to continue growing. Celery is a nutritious vegetable that is rich in vitamins and minerals, and is a great addition to soups, salads, and stir-fries.
Green Onions
Green onions, also known as scallions, are a versatile vegetable that can be easily regrown from scraps. To regrow green onions, simply cut off the white or yellow base of the onions, leaving about an inch of the green tops attached.
Place the bases in a jar or glass with enough water to cover the roots, and place it in a sunny location. Change the water every few days and within a week or two, you should start to see new growth sprouting from the base.
Once the new growth is about 4-6 inches tall, you can harvest the green onions by cutting them off at the desired length. The green onions will continue to regrow as long as you keep changing the water and providing them with enough sunlight.
Another option is to plant the green onions in soil once the roots have developed. To do this, make sure to choose a location with well-draining soil and partial shade. Dig a small hole in the soil and plant the base of the green onions, leaving the green tops above the soil level. Water the plant regularly and keep the soil moist, but not waterlogged.
Lettuce
Lettuce is a leafy vegetable that is widely used in salads and sandwiches. You can easily regrow lettuce from scraps by using the base of the lettuce head.
To regrow lettuce, take the leftover base of a lettuce head and place it in a shallow dish or container of water, with the cut side facing up. Place the container in a sunny location and change the water every few days to prevent bacteria from forming.
Within a few days, you should notice new leaves growing from the center of the lettuce base. Once the new growth is about 2-3 inches tall, it’s ready to be transplanted to soil.
To transplant, choose a location with well-draining soil and partial shade. Dig a hole in the soil that is slightly deeper than the lettuce base and plant it, making sure to keep the new growth above the soil level. Water the plant regularly and keep the soil moist, but not waterlogged.
Once the lettuce is fully grown, you can harvest it by cutting off the outer leaves, leaving the inner leaves to continue growing. Lettuce is a nutritious vegetable that is rich in vitamins and minerals, and is a great addition to salads, sandwiches, and wraps. Lettuce is a cool-weather crop, so make sure to plant it in the early spring or fall for best results and to have access all year long.
Garlic
Garlic is a flavorful and aromatic ingredient that is commonly used in many cuisines around the world. It is also a vegetable that can be easily regrown from a single garlic clove.
To regrow garlic, separate a single garlic clove from the bulb and plant it in a container filled with well-draining soil. Make sure the pointy end of the clove is facing up and the flat end is facing down.
Cover the garlic clove with about an inch of soil, and water it thoroughly. Place the container in a sunny location and water it regularly, making sure the soil remains moist but not waterlogged.
Within a few weeks, you should start to see new growth sprouting from the top of the garlic clove. The garlic plant will continue to grow, and after a few months, it will be ready to harvest.
To harvest garlic, wait until the leaves start to turn yellow, which indicates that the bulbs are ready to be harvested. Gently remove the bulbs from the soil, being careful not to damage them, and allow them to dry in a warm, dry location for a few weeks.
Once the garlic bulbs are completely dry, they can be stored in a cool, dry location for several months. Garlic is a versatile vegetable that can be used in a variety of dishes, including soups, stews, sauces, and marinades.
Garlic is also a nutritious vegetable that is rich in vitamins and minerals, including vitamin C, vitamin B6, and manganese. It is also known for its antibacterial and antifungal properties, making it a popular ingredient in natural remedies for various health conditions.
Ginger
Ginger is a fragrant and flavorful root that is used in many cuisines around the world. It is also a vegetable that can be easily regrown from a small piece of the root.
To regrow ginger, start with a fresh ginger root from the grocery store or farmers’ market. Cut off a small piece of the root that has at least one “eye,” which is a small growth bud.
Plant the ginger root piece in a pot filled with well-draining soil, making sure the eye is facing up and the root is covered with about an inch of soil. Water the soil thoroughly, and place the pot in a warm, humid location with indirect sunlight.
Within a few weeks, you should start to see new growth sprouting from the soil. The ginger plant will continue to grow, and after a few months, it will be ready to harvest.
To harvest ginger, gently dig up the entire plant, being careful not to damage the roots. Cut off the amount of ginger that you need, and replant the remaining ginger root to regrow more.
Ginger is a nutritious vegetable that is rich in antioxidants and anti-inflammatory compounds. It is also known for its potential health benefits, including reducing nausea, fighting infections, and improving digestion.
Potatoes
Potatoes are a versatile vegetable that can be easily regrown from sprouting potatoes or potato scraps. Regrowing potatoes can be done in soil, in a container, or even in a potato tower.
To regrow potatoes from sprouting potatoes, select a potato that has begun to sprout. Cut the potato into sections, making sure that each section has at least one sprout and a small portion of the potato flesh. Allow the cut pieces to dry for a day or two to prevent rotting.
Plant the potato sections in a garden bed or container filled with well-draining soil. Cover the potato sections with a few inches of soil, and water the soil thoroughly. As the potato plants grow, add more soil or straw to cover the stems, leaving only the top few leaves visible.
Potatoes are heavy feeders, so be sure to fertilize them regularly with a balanced fertilizer. They also need consistent watering, so make sure the soil remains moist but not waterlogged.
After a few months, the potato plants will start to die back and yellow, indicating that it’s time to harvest them. Carefully dig up the potatoes, being careful not to damage them, and allow them to dry in a warm, dry location for a few days.
To regrow potatoes from potato scraps, take a potato that has not yet sprouted and cut it into small pieces, making sure that each piece has at least one eye. Allow the cut pieces to dry for a day or two to prevent rotting.
Plant the potato pieces in soil or in a container filled with well-draining soil, making sure the eye is facing up and the potato piece is covered with about an inch of soil. Water the soil thoroughly, and place the container in a sunny location.
Within a few weeks, you should start to see new growth sprouting from the top of the potato pieces. Continue to water and fertilize the plants as they grow, and harvest the potatoes in the same way as described above.
Potatoes are a nutritious vegetable that is rich in carbohydrates, vitamins, and minerals. They can be used in a variety of dishes, including mashed potatoes, potato salad, and baked potatoes.
Sweet Potatoes
Sweet potatoes are a tasty and nutritious root vegetable that can be regrown from slips or cuttings. Unlike regular potatoes, sweet potatoes are grown from vine cuttings, also known as “slips.”
To regrow sweet potatoes, you’ll need to start with a sweet potato that has not been treated with chemicals or pesticides. Place the sweet potato in a jar of water, with the top part of the sweet potato above the water level. Use toothpicks to hold the sweet potato in place if necessary.
Keep the sweet potato in a warm, sunny location and change the water every few days. Within a few weeks, you should start to see sprouts emerging from the sweet potato. These sprouts will eventually grow into slips.
Once the slips are about 6-8 inches long, carefully cut them off the sweet potato and place them in a jar of water. Change the water every few days and keep the slips in a warm, sunny location.
After a few weeks, the slips will have developed roots and can be planted in soil. Choose a sunny location with well-draining soil and plant the slips about 12 inches apart, burying them up to the base of the leaves.
Sweet potatoes prefer warm weather and require consistent watering, so make sure to water them regularly. Fertilize them every few weeks with a balanced fertilizer to ensure healthy growth.
After about 100-120 days, the sweet potato vines will start to die back, indicating that it’s time to harvest the sweet potatoes. Carefully dig up the sweet potatoes, being careful not to damage them, and allow them to dry in a warm, dry location for a few days.
Sweet potatoes are a versatile and nutritious vegetable that is high in fiber, vitamins, and minerals, making them an excellent addition to any diet.
Tomatoes
Tomatoes are one of the most popular vegetables to grow in home gardens, and they can also be easily regrown from cuttings or scraps. To regrow tomatoes, you can start with either the seeds or cuttings.
Seeds can be saved from ripe tomatoes, dried, and planted in a pot or in the ground. However, regrowing tomatoes from cuttings is faster and more reliable. It also ensures that the new plants will have the same characteristics as the parent plant.
To grow tomatoes from cuttings, start by selecting a healthy tomato plant with strong stems and branches. Use a clean, sharp pair of pruning shears to snip off a healthy stem that is about 6 inches long. Remove the leaves from the bottom 2-3 inches of the stem, leaving only a few leaves at the top.
Next, dip the cut end of the stem into rooting hormone powder, which will help the stem to develop roots. Insert the stem into a pot filled with moist, well-draining soil, and cover the pot with a plastic bag or clear plastic wrap to create a humid environment.
Place the pot in a bright, warm location, such as a sunny windowsill, and keep the soil moist but not waterlogged. Within a few weeks, the stem should start to develop roots and new growth. Once the plant has grown a few leaves, you can transplant it into a larger pot or into the ground.
Tomatoes require plenty of sunlight and consistent watering, so make sure to plant them in a sunny location with well-draining soil. Fertilize them every few weeks with a balanced fertilizer to promote healthy growth and fruit production.
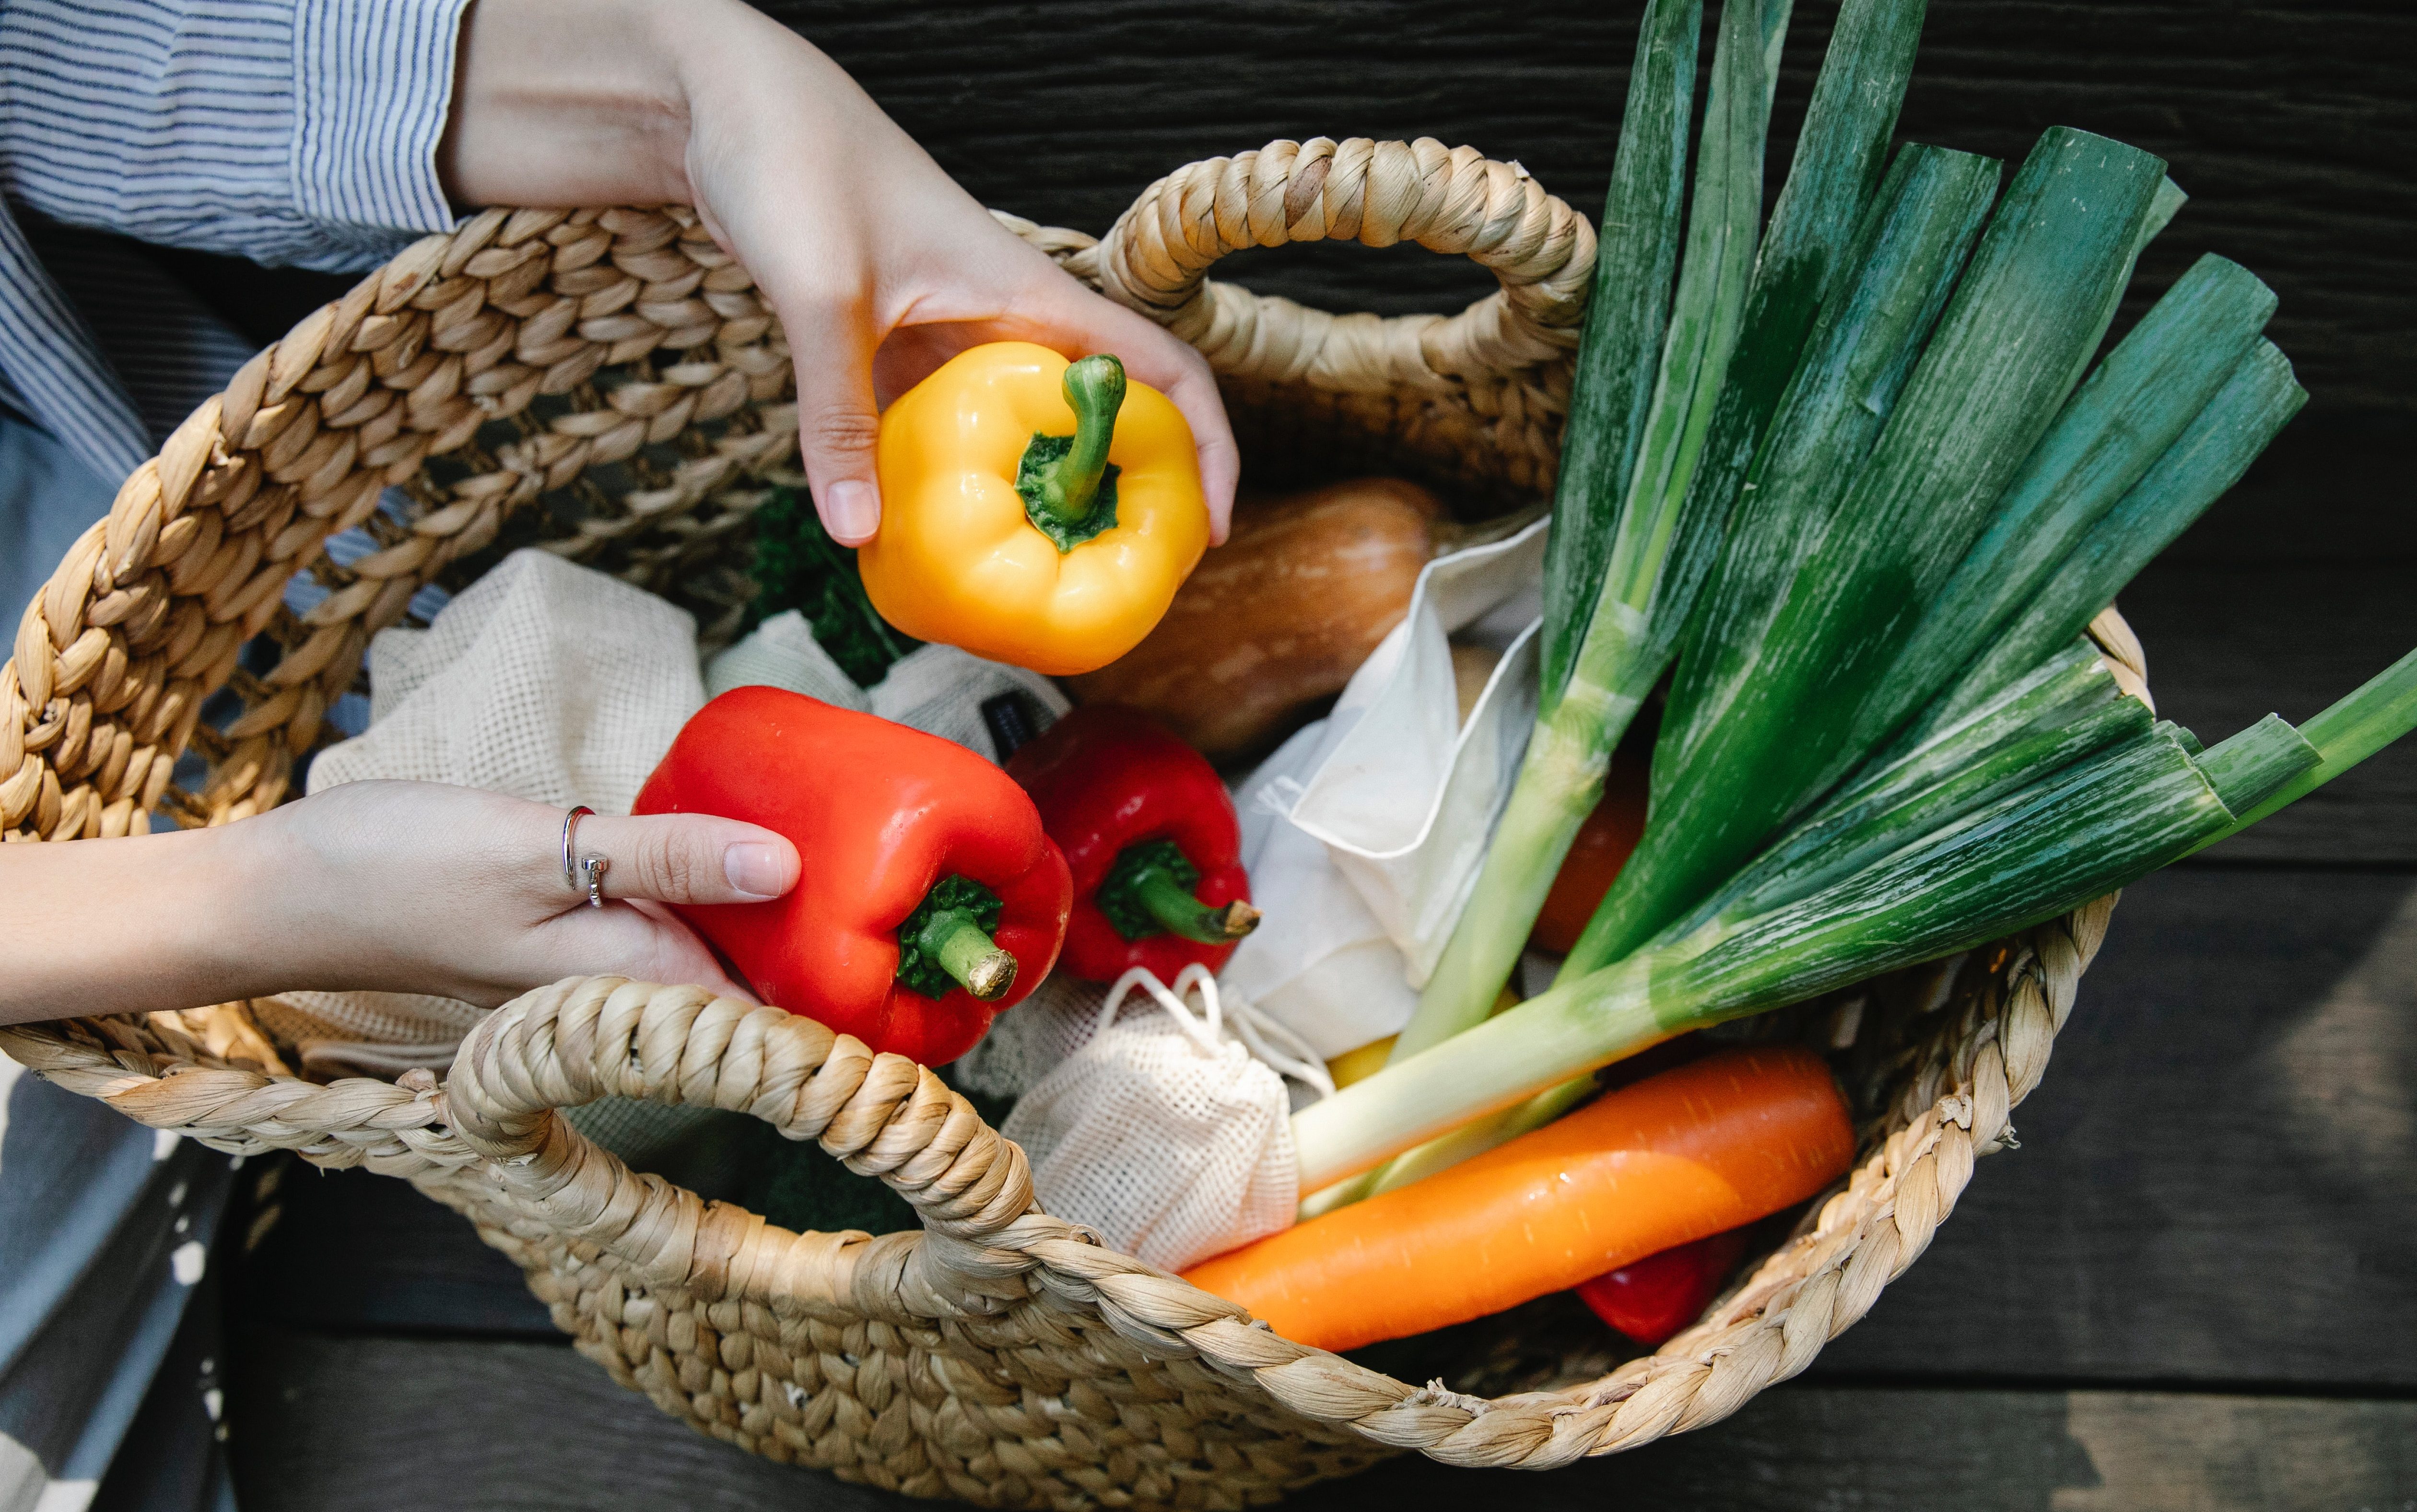
Bell Peppers
Bell peppers are a colorful and flavorful addition to any garden or kitchen, and they can also be easily regrown from cuttings or scraps. To regrow bell peppers, you can start with either the seeds or cuttings. However, similar to regrowing a tomato, regrowing bell peppers from cuttings is faster and more reliable, ensuring that the new plants will have the same characteristics as the parent plant.
To grow bell peppers from cuttings, start by selecting a healthy bell pepper plant with strong stems and branches. Use a clean, sharp pair of pruning shears to snip off a healthy stem that is about 6 inches long. Remove the leaves from the bottom 2-3 inches of the stem, leaving only a few leaves at the top.
Next, dip the cut end of the stem into rooting hormone powder, which will help the stem to develop roots. Insert the stem into a pot filled with moist, well-draining soil, and cover the pot with a plastic bag or clear plastic wrap to create a humid environment.
Place the pot in a bright, warm location, such as a sunny windowsill, and keep the soil moist but not waterlogged. Within a few weeks, the stem should start to develop roots and new growth. Once the plant has grown a few leaves, you can transplant it into a larger pot or into the ground.
Bell peppers require plenty of sunlight and consistent watering, so make sure to plant them in a sunny location with well-draining soil. Fertilize them every few weeks with a balanced fertilizer to promote healthy growth and fruit production.
Cucumbers
Cucumbers are a refreshing and versatile vegetable that can be easily regrown from cuttings or scraps, making them a great addition to any homestead, small farm, or off-grid garden. Not only are cucumbers a great source of hydration and vitamins, but they’re also low in calories and can be used in a variety of dishes, from salads to pickles.
To regrow cucumbers, start by selecting a healthy cucumber plant with strong stems and branches. Look for a cucumber that has a good shape and size and is free from any signs of disease or damage. Cut off a piece of the stem with a sharp, clean pair of scissors, making sure that the cutting is about 2-3 inches long.
Remove the bottom leaves from the stem and place it in a glass of water. Make sure that the water level covers the bottom of the stem but does not cover the leaves. Place the glass in a warm, bright location, such as a windowsill or under a grow light. Within a few days, you should start to see roots growing from the bottom of the stem.
Once the roots have grown to about an inch long, you can transplant the cutting into a pot filled with moist, well-draining soil. Make sure to plant the cutting at the same depth as it was in the water. Place the pot in a sunny location and water the soil regularly to keep it moist.
As the cucumber plant grows, make sure to provide it with plenty of support, such as a trellis or stake, as cucumbers are a climbing plant. Fertilize the plant with a balanced fertilizer every few weeks to promote healthy growth and fruit production.
Harvest the cucumbers when they are about 6-8 inches long and firm to the touch. If you’re using them for pickling, you can harvest them when they are smaller.
Carrots
Carrots are a nutritious root vegetable that are easy to grow from scraps or cuttings, making them a great addition to any homestead, small farm, or off-grid garden. Carrots are packed with vitamins and minerals, such as beta-carotene, vitamin K, and potassium, and they’re also low in calories and high in fiber.
To regrow carrots from scraps, start by selecting a healthy carrot with a vibrant orange color and firm texture. Cut off the top inch of the carrot and place it in a shallow dish of water. Make sure that the water level covers the bottom of the carrot but does not cover the top.
Place the dish in a sunny location and change the water every few days to keep it fresh. Within a few days, you should start to see green sprouts growing from the top of the carrot. Once the sprouts have grown to a few inches tall, you can transplant them into a pot filled with moist, well-draining soil.
Make sure to plant the carrot sprouts in a deep pot or container, because carrots have long taproots that need plenty of room to grow. Plant the sprouts at the same depth as they were in the water and water the soil regularly to keep it moist.
As the carrot plants grow, make sure to thin them out so that they have enough space to grow. Carrots need plenty of sunlight and well-draining soil, so make sure to place them in a sunny location and use a light soil mix that drains well.
Carrots can be harvested when they are about 1-2 inches in diameter and have a bright orange color. Gently pull the carrots from the soil and rinse them off with water. Carrots can be eaten raw or cooked and can be used in a variety of dishes, from salads to soups to roasted vegetables.
Pineapple
Pineapple is a tropical fruit that is native to South America but is now widely grown around the world and are packed with vitamins, minerals, and antioxidants. To regrow pineapple from scraps, start by cutting off the top of a ripe pineapple.
Make sure to cut off the top about an inch below the leaves, leaving a small amount of the fruit attached to the stem. Once you have removed the top, remove any excess fruit or flesh from the stem to prevent rotting.
Next, place the pineapple top in a bowl of water, making sure that the water covers the bottom of the stem. Change the water every few days to keep it fresh and place the bowl in a sunny location. Within a few weeks, you should start to see roots growing from the bottom of the stem.
Once the roots have grown to a few inches long, you can transplant the pineapple top into a pot filled with well-draining soil. Make sure to plant the pineapple top at the same depth as it was in the water, and water the soil regularly to keep it moist.
Pineapple plants require warm temperatures and plenty of sunlight, so make sure to place your potted plant in a sunny location. Pineapple plants also require regular feeding, so make sure to fertilize them with a balanced fertilizer every few weeks.
It will take about two years for your pineapple plant to mature and produce fruit. Once the pineapple plant reaches maturity, a pineapple will begin to grow from the center of the plant. The pineapple will take several months to mature and will be ready for harvest when the fruit is yellow or golden in color and the flesh is sweet and juicy.
Avocado
Avocados are packed with healthy fats, fiber, vitamins, and minerals, making them a great addition to any diet. To regrow avocado from scraps, start by carefully removing the pit from a ripe avocado.
Make sure to wash the pit thoroughly to remove any excess fruit or flesh, and then gently peel off the thin brown skin covering the pit.
Next, prepare the pit for germination by suspending it in water using toothpicks. Insert three or four toothpicks around the middle of the pit, making sure to space them evenly, and then suspend the pit over a glass or jar of water so that the bottom is submerged in the water.
Place the jar in a warm and sunny location and change the water every few days to prevent stagnation. Within a few weeks, you should start to see roots growing from the bottom of the pit and a small sprout emerging from the top.
Once the sprout has grown to a few inches tall and has a few sets of leaves, it’s time to transplant it into a pot with well-draining soil. Make sure to plant the avocado pit with the bottom in the soil and the top exposed, and water the soil regularly to keep it moist.
Avocado trees require warm temperatures and plenty of sunlight, so make sure to place your potted plant in a sunny location. Avocado trees also require regular feeding, so make sure to fertilize them with a balanced fertilizer every few weeks.
It will take several years for your avocado tree to mature and produce fruit. Once the tree reaches maturity, it will produce small flowers that will eventually turn into avocados. The avocados will take several months to mature, and will be ready for harvest when the skin is dark green or black and the flesh is soft to the touch.
Lemongrass
Lemongrass is a fragrant herb commonly used in Asian cuisine and in herbal medicine. It has a citrusy flavor and a fresh, lemony scent, and is used in teas, soups, curries, and many other dishes. Growing lemongrass from scraps is easy and requires minimal effort, making it a great addition to any homestead, small farm, or off-grid living situation.
To regrow lemongrass from scraps, start by selecting a fresh stalk of lemongrass from the grocery store or farmers market. Trim the stalk down to about 6 inches and remove any dry or brown leaves. Place the stalk in a jar or glass filled with about an inch of water, making sure that the bottom of the stalk is submerged.
Place the jar or glass in a sunny location, and change the water every few days to prevent stagnation. Within a week or two, you should start to see roots growing from the bottom of the stalk.
Once the roots are about an inch long, it’s time to transplant the lemongrass into a pot with well-draining soil. Make sure to plant the stalk with the root end in the soil and the top exposed, and water the soil regularly to keep it moist.
Lemongrass is a tropical plant that requires warm temperatures and plenty of sunlight. Place your potted lemongrass in a sunny location, and make sure to water it regularly and fertilize it with a balanced fertilizer every few weeks.
As your lemongrass plant grows, you can harvest the leaves and stalks as needed. Simply trim off the outermost leaves and stalks, leaving the inner portion of the plant intact. Lemongrass can be used fresh or dried, and can be added to a variety of dishes for a delicious and refreshing flavor.
In addition to its culinary uses, lemongrass has many medicinal properties. It is commonly used to treat digestive issues, fever, headaches, and other ailments. Lemongrass tea is a popular herbal remedy that is said to promote relaxation and reduce stress.
Onions
To regrow onions from scraps, start by saving the bottom inch of an onion that contains the root base. Place the onion bottom in a small dish with a bit of water and set it in a sunny location. Change the water every few days to keep it fresh.
After a week or two, you should start to see new growth sprouting from the top of the onion bottom. Once the sprouts are a few inches tall, you can transplant the onion into a pot filled with soil. Make sure to plant the onion with the roots pointing downwards and the sprouts pointing upwards.
Onions prefer well-draining soil with plenty of organic matter. Make sure to keep the soil moist, but not waterlogged, and fertilize the onions with a balanced fertilizer every few weeks. Onions require full sun to grow properly, so make sure to place your potted onions in a sunny location.
As your onions grow, you can harvest the greens as needed by trimming them back to about 2 inches above the soil level. You can also harvest the onion bulbs by waiting until the greens have died back and the bulbs have formed a papery outer layer. Carefully dig up the bulbs and allow them to cure for a few days before using them in your cooking.
Basil
Basil is an aromatic herb that is widely used in cooking, particularly in Italian cuisine. It has a sweet and slightly peppery flavor, with hints of anise, mint, and clove. Basil is also a rich source of essential vitamins and minerals, including vitamin K, vitamin A, calcium, and iron.
To regrow basil from cuttings, start by taking a stem cutting that is around 4-6 inches long. Make sure to choose a stem that is healthy and free from any signs of damage or disease.
Next, remove the leaves from the bottom inch of the stem and place it in a glass of water. Make sure that the water covers the bottom inch of the stem, but does not cover any of the remaining leaves. Place the glass in a sunny location, such as a windowsill, and change the water every few days to keep it fresh.
After a week or two, you should start to see roots developing at the base of the stem. Once the roots are a few inches long, you can transplant the basil into a pot filled with soil. Make sure to plant the basil with the roots pointing downwards and the leaves pointing upwards.
Basil prefers well-draining soil with plenty of organic matter. Make sure to keep the soil moist, but not waterlogged, and fertilize the basil with a balanced fertilizer every few weeks. Basil requires full sun to grow properly, so make sure to place your potted basil in a sunny location.
As your basil grows, you can harvest the leaves as needed by pinching them off with your fingers. This will encourage the plant to grow bushier and produce more leaves. You can also use the stems and flowers of the basil in cooking, although the leaves are the most commonly used part of the plant.
Conclusion
Regrowing produce from cuttings or scraps is an excellent way to reduce food waste, save money, and become more self-sufficient. We hope this guide has provided you with useful information on 15 of the fruits, vegetables and herbs that can be regrown at home.
By regrowing your own produce, you can have access to fresh and nutritious food right from your backyard, without having to worry about harmful chemicals or additives. Plus, it’s a fun and rewarding activity that the whole family can enjoy.
Remember that each fruit and vegetable has its own unique requirements for regrowth, so be sure to follow the specific instructions provided for each one. And, don’t be discouraged if you don’t see results right away – regrowing produce can take some time, patience, and experimentation. Good luck in all of your regrowing endeavors.
Be sure to subscribe so you’ll never miss a post from Skillful Living…


